Creative February -- Monochrome Workflow for iPhone
In 2022 when I joined the Creative February project for the first time, determining my workflow was a time-consuming pain in the rear. I set all my guidelines quickly. But figuring out how to achieve the final images and how to share them was really a challenge. There were a few times in the first two weeks that I contemplated just stopping. For me it was too frustrating and too time consuming. Now, however, I can determine the image and have it processed and formatted for sharing within about ten minutes.
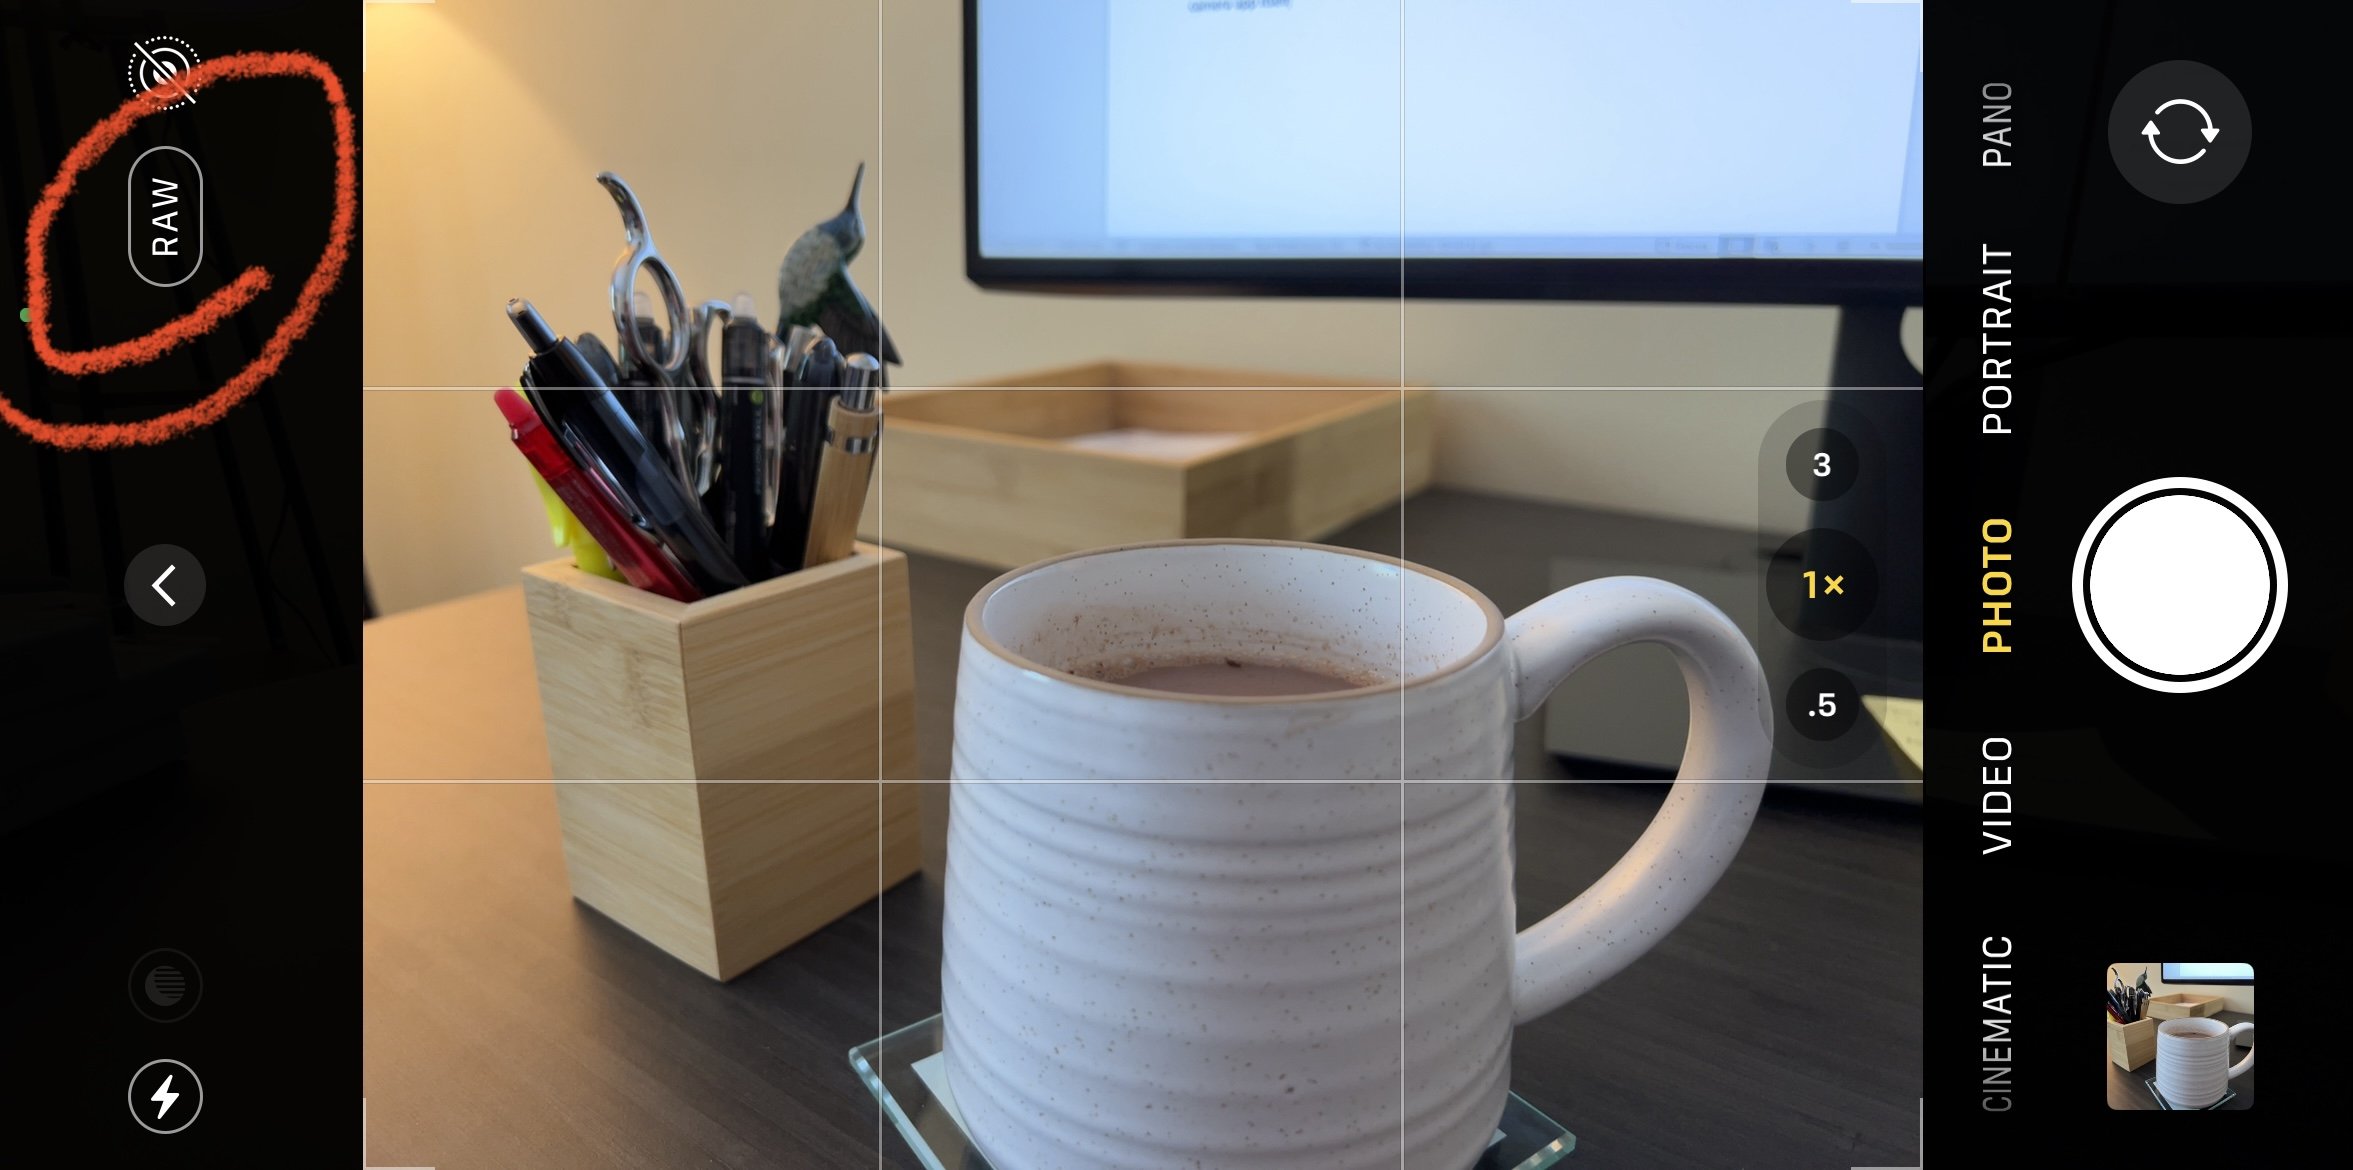
The first step for me is obviously image capture. If you can, I would highly recommend capturing your photographs in RAW mode if your camera allows it. Nearly all cameras do, but not every cellphone based camera does. This step is important because it gives you more creative leeway in determining what will be happening in your highlights, shadows, and the various color spectra within the image. A JPEG file can be used, but set the camera on its highest resolution and image quality. The more data you have to work with, the better. On the iPhone 13 Pro go into the camera settings and enable RAW recording. When you are using the camera app itself
One of the tools I use for this project is the Benro ArcaSmart 70mm Arca-Swiss plate with Smartphone Adapter to help keep the phone steady during exposure. Since some of my exposures are multi-seconds long, the camera must be held steady. The only way to achieve this is to anchor the phone. I do that using this plate, a plate which conveniently snaps right onto the ARCA plate of my normal tripods. It works great! https://benrousa.com/70mm-arca-swiss-plate-with-smartphone-adapter/

Benro ArcaSmart 70 mm.
When I get home I open the Adobe Lightroom App and select the image I want to work with. I usually wait to delete anything until I’m confident I won’t need it for the month-long-project.
For what I have been doing, I process my image in black and white first. In the app I select the image, then Color, then B&W. I then go into Color Mix in the Color tab and tweak the color spectra as desired to brighten or darken (luminance) the background colors globally across the image. For instance, if there is a blue sky I will grab the blue color spectra and drop the luminance, giving it a darker tone. Do the same for the other color spectra as needed.
Next, I go over to the light tab and begin to adjust the Curve to darken the darks and lighten the lights. Adjust midtones as well. Again, this is all globally. From that point I then adjust exposure, contrast, highlights, shadows, whites, and blacks globally. I will then move over to effects and adjust texture, clarity, dehaze, and vignette as desired.
I then move to the Detail tab to adjust sharpness globally, most of the time making sure I am sharpening only the finest details and finest edges. Then move to Geometry to fine tune things.
The final creative step is the masking tab. Here what I often do is add both linear gradients and radial gradients to highlight or darken different components of the image. You can dial that in, also, with the brush tool. It can be luminance, but it can also be and of the adjustments under the Light, Color, Effects, and Details tabs. Below is a before and after example of a radial filter being applied to the central subject. There’s a lot of dialogue elsewhere on how to use these masks, take a look around and you’ll see their full potential and how to use them.

Sample RAw image.

Possible Creative February image.
From here the final steps are fixing flaws in the images like spots or undesired fragments of things. Like a fleck of dirt, or a stick creeping in from the side. The healing tool is used in this step. This cleaning step is very helpful in helping to focus the viewer, eliminating as much distractions as possible.
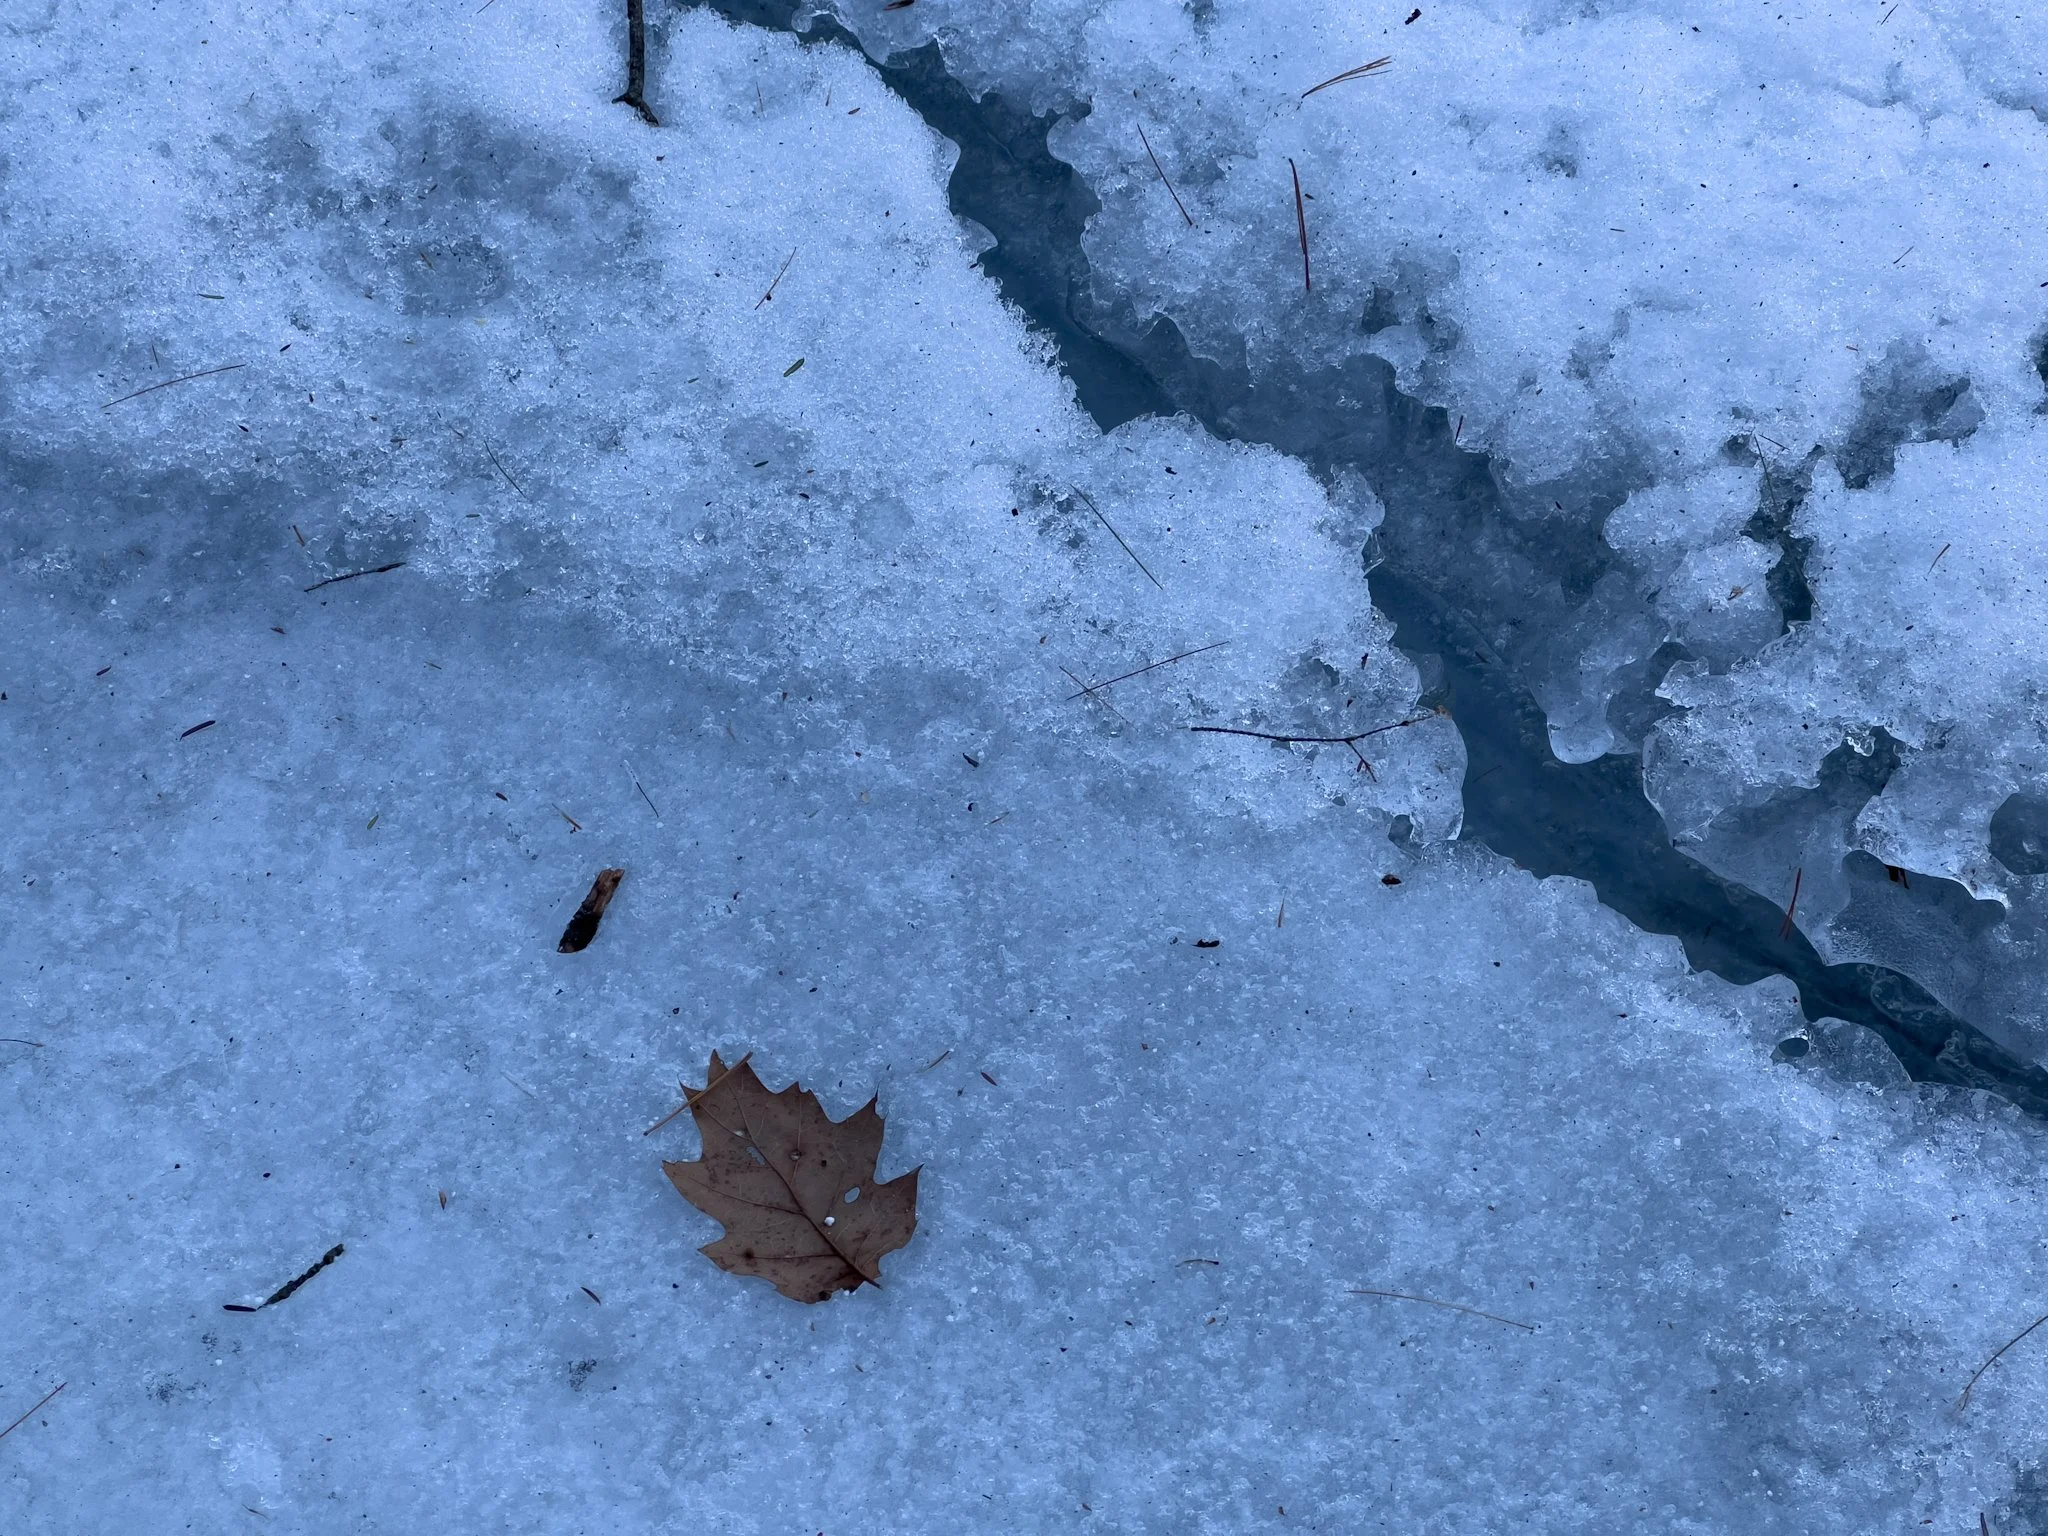
Day 12 RAW Image

Day 12 — 2023 Creative February Project
And finally, the crop. I have limited myself in this project to the 1:1 ratio. So I flip over to a 1:1 crop and center the image within it as I prefer. You can rotate and flip things if needed. You can zoom in on the image, too. The rules and broken rules of composition are key here. Again, that’s discussed in all sorts of locations elsewhere. There is no one right way to achieve this final step, I just follow my intuition and experience.
Below is a good example of before and after for this workflow. You can see the final result of all the adjustments I just mentioned above and how it elevates the image from something kind of ordinary to something a bit more artistic and expressive.

Day 10 RAW image.

Day 10 — 2023 Creative February Project.
Export and you’re done! Word of advice, keep all your final works in a backed-up folder for future needs and ease of access. That, ideally, is stored locally and in the cloud for preservation purposes.
Best of luck with it all! Feel free to reach out if you have any questions – or comment below!